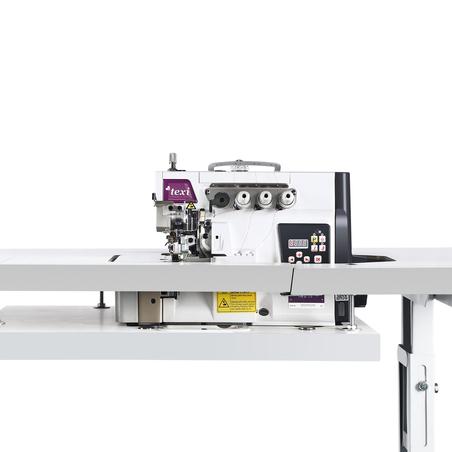
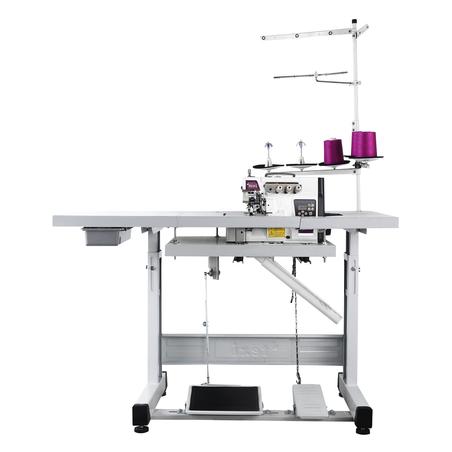
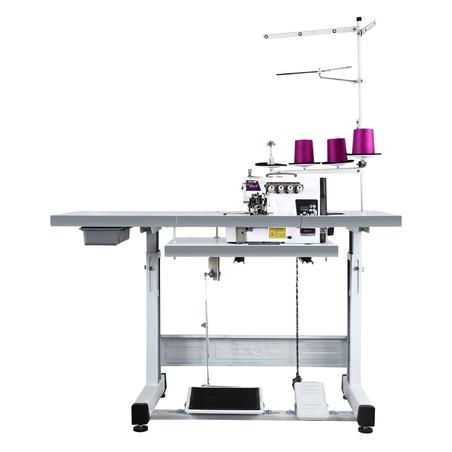
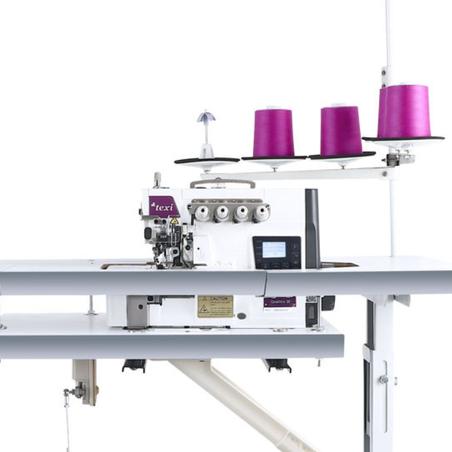
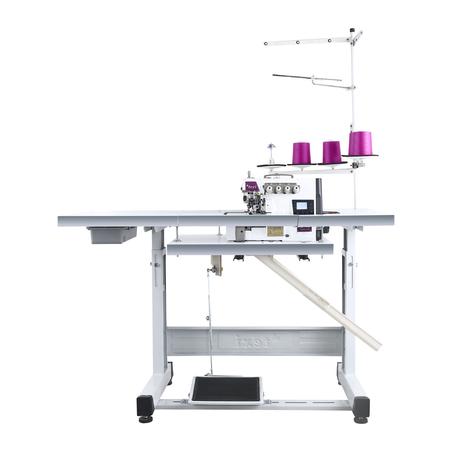
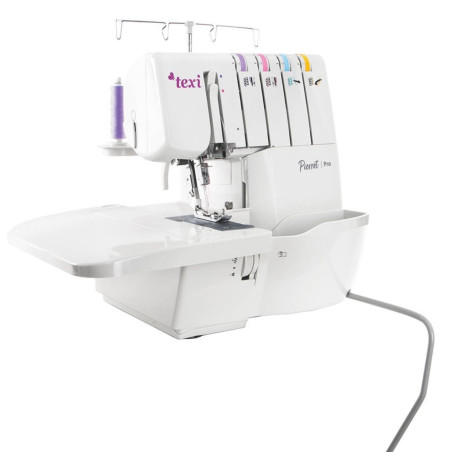
How to set up an overlock and adjust thread tension
In practice, every thread change should be followed by a machine adjustment. The best approach is to start by loosening all tension settings, then properly threading the overlock according to the manufacturer’s guide. The next step is to perform a test stitch at minimal tension and gradually increase it until a balanced, even stitch is achieved.
Although using threads of the same thickness provides the best results, this is not always possible in real-world sewing, which is why the ability to adjust tension is essential.
How an overlock stitch works and how to identify problems
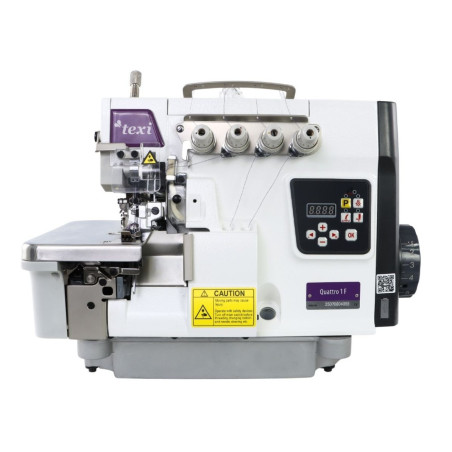
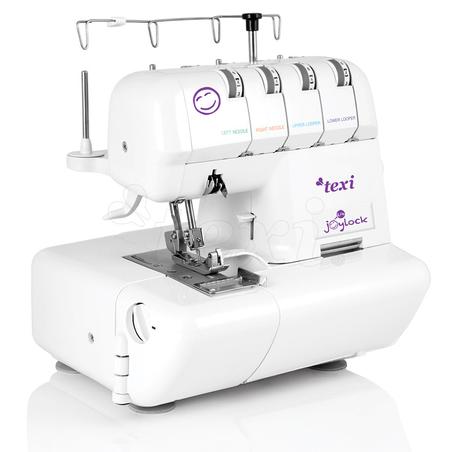
To properly set up an overlock machine, it is important to understand how the stitch is formed. Three main elements are involved in the process: the needle, the upper looper, and the lower looper. Each of these components controls a different thread, and their interaction creates the characteristic overlock stitch.
By observing the stitch, you can quickly diagnose problems. Loops appearing on the underside of the fabric usually indicate an issue with the lower looper, while loops on the top suggest that the upper looper tension needs adjustment. A loose or unstable stitch often points to incorrect needle thread tension.
Common overlock problems and their causes
Even with proper setup, certain operational issues may occur. One of the most common problems is skipped stitches, which are usually caused by a damaged, dull, or incorrectly installed needle. In such cases, the needle should not be straightened but replaced with a new one recommended by the manufacturer.
Sometimes the machine may produce unusual noises or knocking sounds. This is most often caused by a lack of lubrication, dirt buildup, or issues with the needle.
Is the user manual enough
The user manual is a useful starting point, but it does not account for all real working conditions. Factors such as fabric type, thread quality, and sewing intensity can all affect the final result. In practice, the best results are achieved through experience and careful adjustment rather than relying solely on default settings.
Overlock maintenance – how to take care of your machine
Regular maintenance is essential for ensuring long-term performance. It is recommended to clean the overlock at least once every six months, or more frequently with intensive use. Dust, lint, and thread residues should be removed with a brush, while moving parts should be regularly lubricated with sewing machine oil.
For precise lubrication, use SPIRIT 2 - Spray 400 ml, designed to reach difficult areas and provide smooth, even coverage.
Summary
Proper overlock setup is the foundation of efficient and comfortable sewing. Correct thread tension adjustment, regular needle checks, and consistent maintenance help prevent most common issues and ensure high-quality results over time. With proper care, an overlock machine can operate reliably in both home and professional environments.